Internet of Things (IoT) is a network of internet connected devices such smartphone, tablet PCs, desktops, etc., and the ever-growing number of sensors, motors, cameras and other electronic components that you will see in your home, office, car or elsewhere. Windows IoT Core is a small foot-print version of Windows 10 that can run on smaller devices such as a Raspberry Pi (models 2 and 3). With Windows (IoT) core on Raspberry Pi, you can develop your applications on Visual Studio and also make use of the Universal Windows Platform (UWP) api that enables you to create one application that runs on all devices. This article shows you how to install Windows IoT core on Raspberry Pi.
What you need
- Raspberry Pi Model 2 or 3
- A PC with a SD card slot running Windows 10 (version 10.0.10240 or later).
Raspberry Pi model 3 uses Micro SD. So you might also need a Micro SD adapter to plug the card in to the SD card slot of your PC. - A micro SD Card of at least 8GB size
Installation Steps
You need to be logged in to the Windows 10 PC as Administrator user to perform these steps.
Step 1: Download the Windows 10 IoT Core Dashboard from this download link
Step 2: Save the setup.exe file.
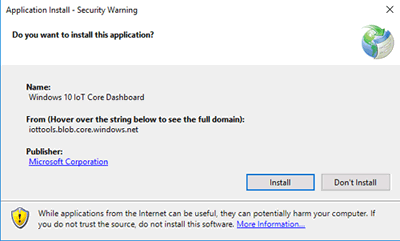
Step 3: Right click on setup.exe file and select Run as Administrator to start the Windows 10 IoT Core Dashboard. Click Install when prompted and wait for installation to complete.
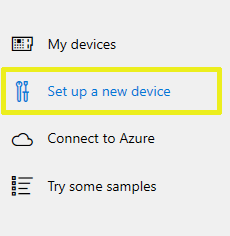
Step 4: On the dashboard click Setup a new device.
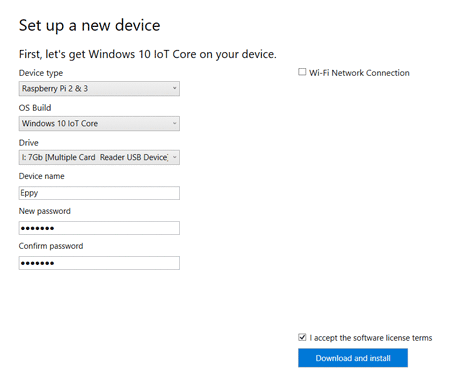
Step 5: In the Device Type select Raspberry Pi 2 & 3.
Step 6: Select Windows 10 IoT Core in OS Build dropdown list.
Step 7: Now insert the SD card into your PC. You will now see your SD card drive in the Drive dropdown list.
Step 8: Enter a device name of your choice in the Device Name box.
Step 9: Enter a password and confirm it in the text boxes provided.
Step 10: Select the checkbox to accept the license agreement.
Step 11: Click Download and Install.
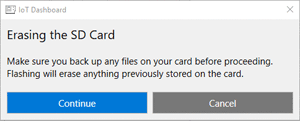
Step 12: A message box will warn you that all the contents in the flash drive will be erased. Click Continue if you are happy with that.
Step 13: After the image has been download and flashed on the SD card you will get the message Your SD card is ready
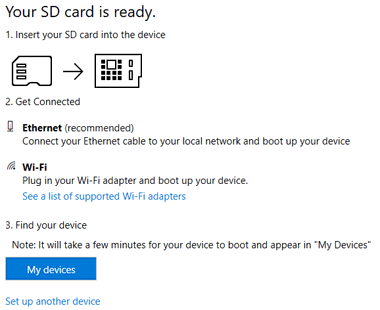
Step 14: Eject the SD card from your PC, insert it into the Raspberry Pi and power on.
Step 15: Click on My Devices in the Windows IoT Dashboard.
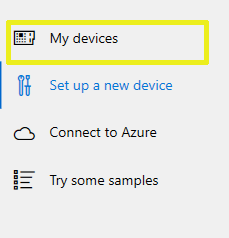
Step 16: First time when you start, it may take several minutes for your device to be discovered and appear in the My devices list.
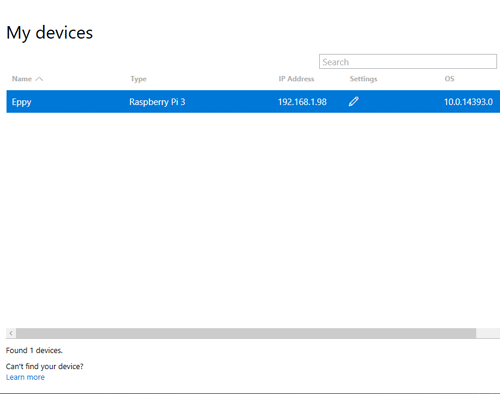
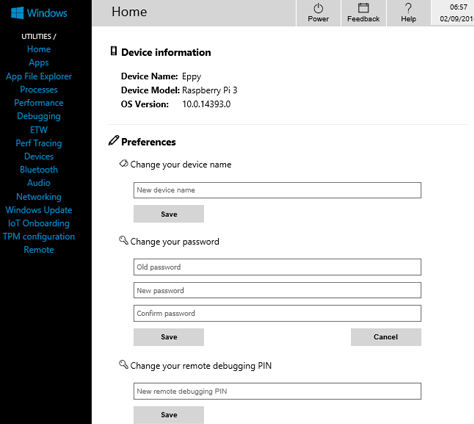
Step 17: Once the device is found you can right click on it and open Device Portal or connect using PowerShell. The default password for user Administrator is p@ssw0rd.
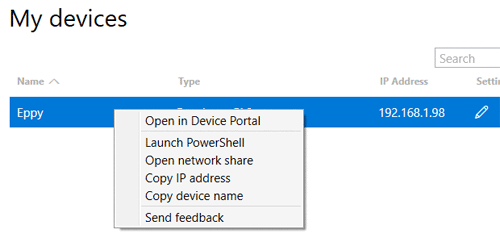
Step 18: Device Portal lets you easily configure various settings such as device name, passwords, networking, audio etc., and also allows you to manage apps and monitor processes.
Troubleshooting Install issues
Error: Failed to unpack Windows 10 IoT Core installation package
If your installation fails with the above message then you need to run the setup.exe using the Administrator account. This error message could appear even if you are logged in as a user who has administrator rights; it has to be the Administrator user.
Please note that by default the Administrator account is disable in Windows 10. You need to first enable the Administrator account. The easiest way to do this is:
- Open a command prompt and run the command lusrmgr
- Click on Users in the left pane, then right click on Administrator user and select properties.
- Uncheck the box "Account is disabled" and Click OK.
- Right Click on Adminsitrator User again and select set password to set a new password for this user.
- Now log out and log in as Administrator user and start the install.


