Three-dimensional (3D) modelling is arguably the most revolutionary tool in today's world. Whether you need it for a simple 3d printer project or for a colossal architectural project, 3D modelling has proven to be professional, convenient, relatable and very creative. To most people, such software seems extremely complex and difficult to learn. However, the truth is, it is very easy to learn, and SketchUp is the best software to acquire these skills and effortlessly create a 3D model.
Both the free 2018 version of Sketchup and Sketchup Pro can be downloaded from the link here.
Here are a few tips on how to use SketchUp effectively.
Choose Template
After you've finished installing SketchUp, start up the application. In the application window, you will be prompted to select a template. A template basically is a collection of settings involving environment, type of measurement and starting point of view. Certain templates show a green ground and a blue sky while others may show a grey sky and a darker tone for the ground. The project below was created using the Architectural Design - Feet and Inches template.
Choose Camera View
Depending on the type of template you have selected, you would get a different camera perspective. However, returning to a generic camera view will help very much in making 3D models. To do this, start by going to the topmost ribbon of the application window. Click on the heading Camera and move you cursor over to Standard Views to open a dropdown menu. Select Iso to get the default camera view.
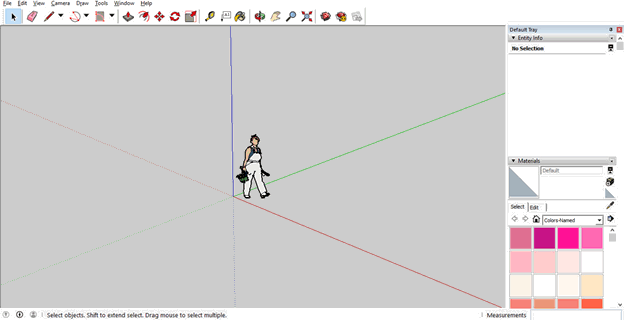
Now you're ready to create a 3D model!
Rectangle Tool
This is the most basic modelling tool in Sketchup. Start off by going to the second ribbon with icons at the top of the app window, and click on  to use the rectangle tool.
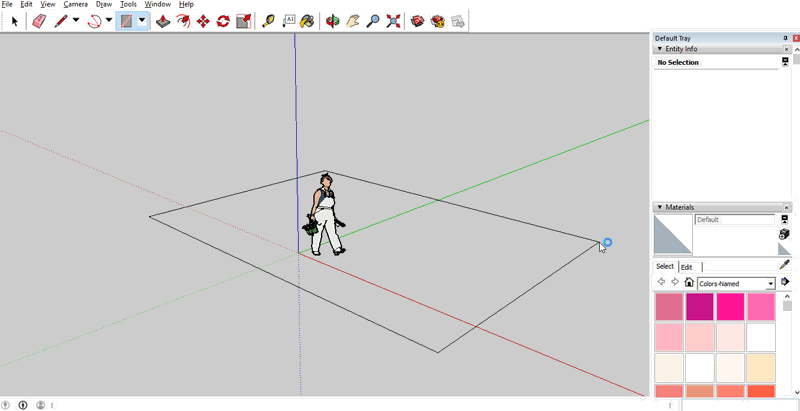
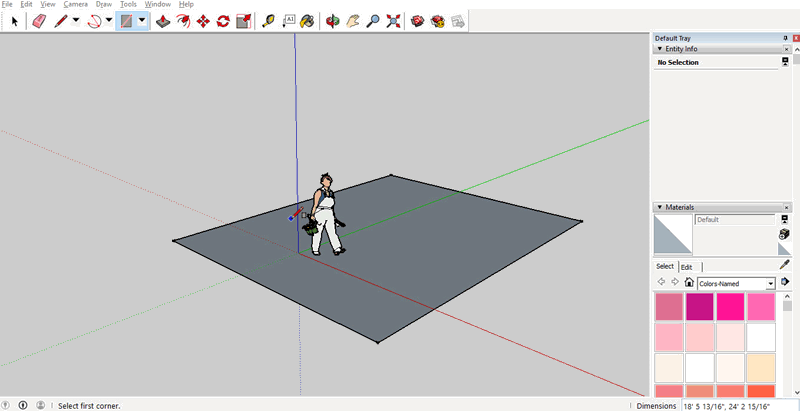
To create a rectangle, move your cursor to a point on a plane and right-click once. Then choose another point and Right-click again. You will notice that a rectangle has appeared between these two points.
Push/Pull Tool
This tool makes it easy to create a 3D model. To use this tool, go to the same ribbon with icons and select  Point your cursor on the rectangle you have created. The rectangle will be highlighted. Right-click once on the rectangle and move your cursor upwards.
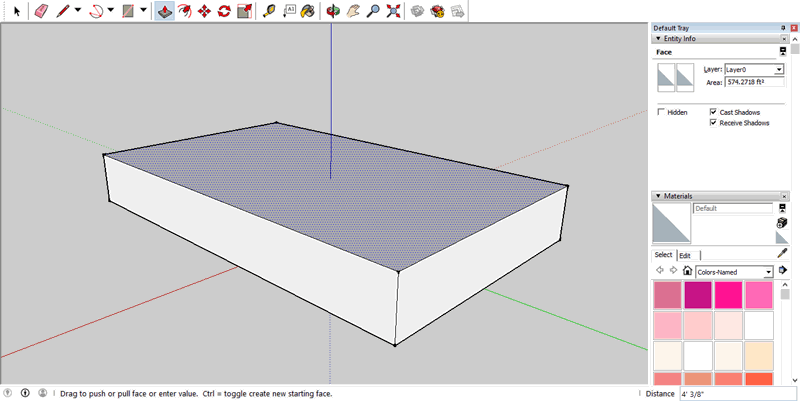
You will notice that the 2D rectangle will morph into a 3D rectangular box. Right-click again to finish the rectangular box. You have now successfully created your first 3D model!
Orbit Tool
This is a camera tool which you can use to explore your 3D model. Select  to use this tool and right-click and drag on the model to shift your perspective. Now you can admire your 3D model as well!
Below is a 3D model of a Catapult I created for a project:
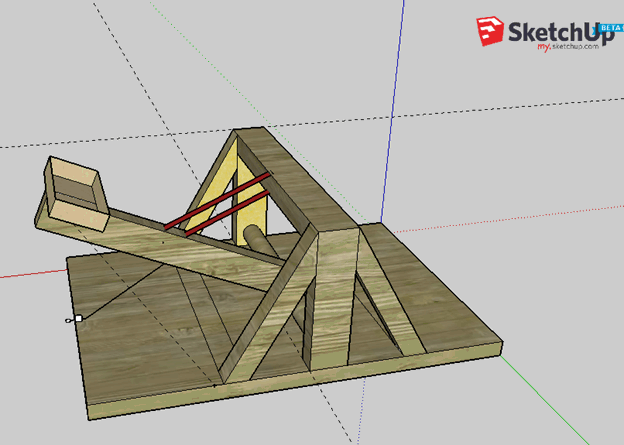
SketchUp is an easy-to-learn application, and you can create lots of 3D models. In addition, there are 2.2 million models you can download for free in the SketchUp Warehouse which you can customize for your own projects.


