SOAP (Simple Object Access Protocol) is not officially deprecated by Microsoft, but it is considered an older technology and has been largely replaced by more modern alternatives such as REST (Representational State Transfer) and gRPC. Although SOAP is still widely used in some industries, it's not as popular as it used to be. Microsoft has stopped developing new features and improvements for it in favour of more modern technologies. However, it is possible to create a SOAP-based web service in C# using Visual Studio 2022.
WCF (Windows Communication Foundation) is not included in Visual Studio 2022 by default. However, you can still create and use WCF services by installing the "Windows Communication Foundation" feature in the Visual Studio installer. Another option is to create an empty ASP.NET web application and add web service functionality to it. Alternatively, you can create a Web API or gRPC service, which are modern alternatives to WCF and are included in the latest versions of Visual Studio.
This article demonstrates how to create a SOAP-based web service in Visual Studio 2022 using the "ASP.NET Web Application(.NET Framework)" template which means you do not need to install any additional features or templates.
Steps to create a web service in VS2022
Open Visual Studio and click Create New Project.
Select language C#, platform Windows and project type Web and select ASP.NET Web Application (.NET Framework) from the list of templates.
Click Next
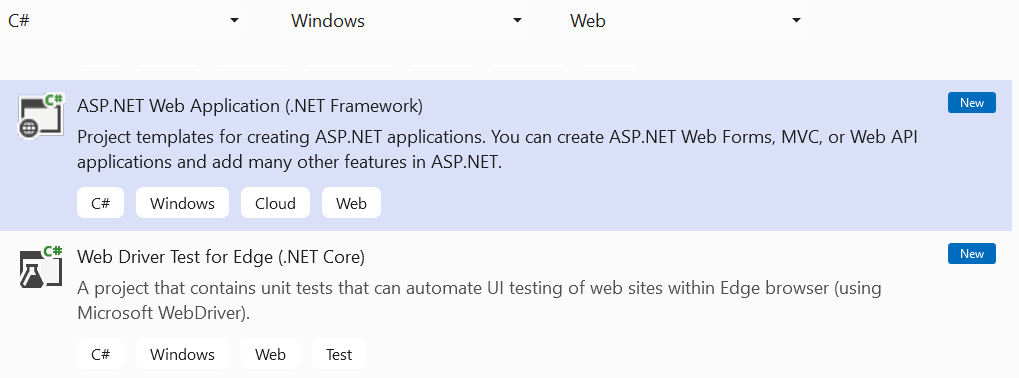
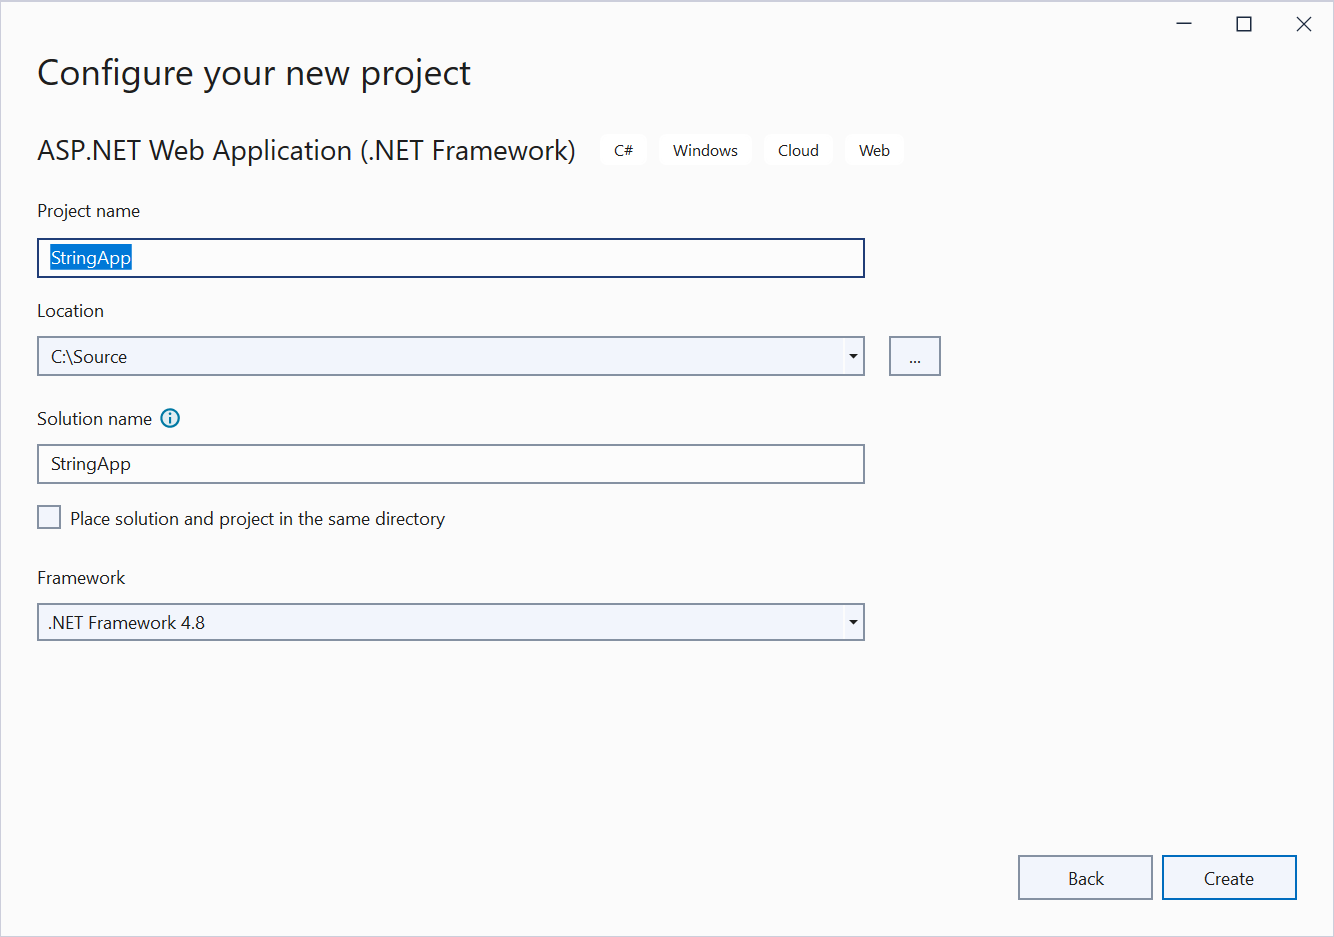
Create New Project Enter a project name, select location and .NET Framework.
Click Create
Configure Project In the Create new ASP.NET web application dialog, select Empty project template. Uncheck Configure for HTTPS.
Click Create. An empty ASP.Net project will be created.

Create new ASP.NET web application In the
Solution Explorerright click the project name and select Add→New Item...In the Add New Item dialog window, type web service in the search box and the select Web Service(ASMX)
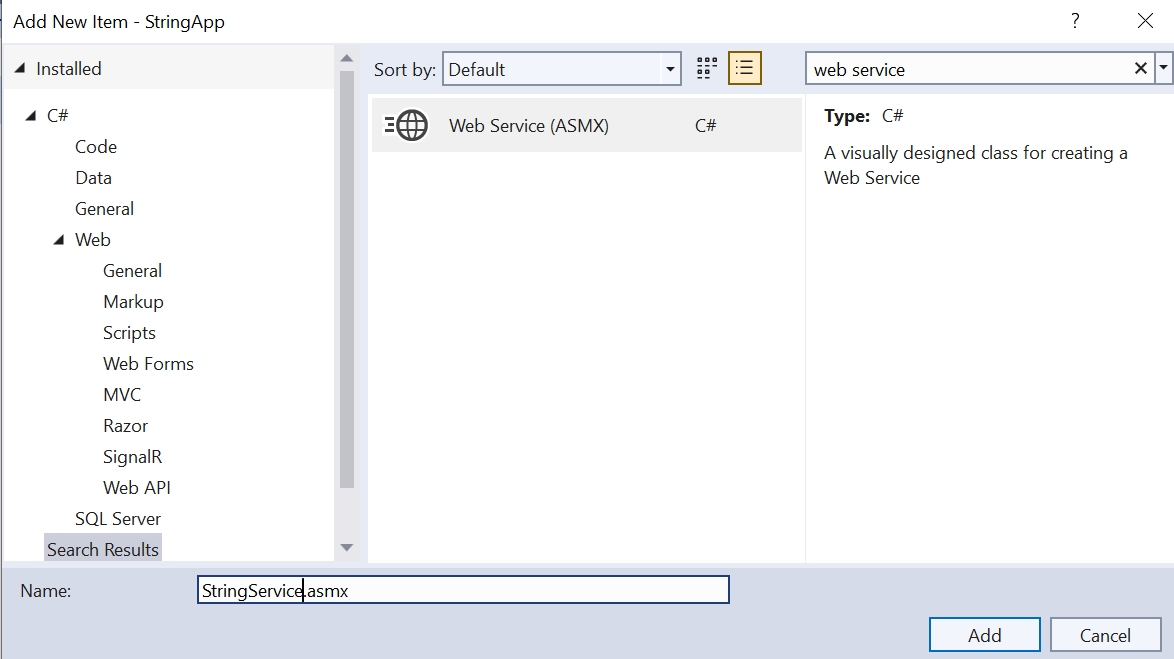
Add New Web Service Input a name for the service. For example StringService.asmx
Click Add. This will add a new web service with one web method named
HelloWorldFrom Solution Explorer, double click the newly created service file to open it and add a new method name
Reverseas below.using System; using System.Web.Services; namespace StringApp { ////// Summary description for StringService /// [WebService(Namespace = "http://tempuri.org/")] [WebServiceBinding(ConformsTo = WsiProfiles.BasicProfile1_1)] [System.ComponentModel.ToolboxItem(false)] // To allow this Web Service to be called from script, using ASP.NET AJAX, uncomment the following line. // [System.Web.Script.Services.ScriptService] public class StringService : System.Web.Services.WebService { [WebMethod] public string HelloWorld() { return "Hello World"; } [WebMethod] public string Reverse(string s) { char[] charArray = s.ToCharArray(); Array.Reverse(charArray); return new string(charArray); } } }Save the project and press the function key F5 to start Debugging.
After compilation, your web service starts and displays the following web page on a browser window.
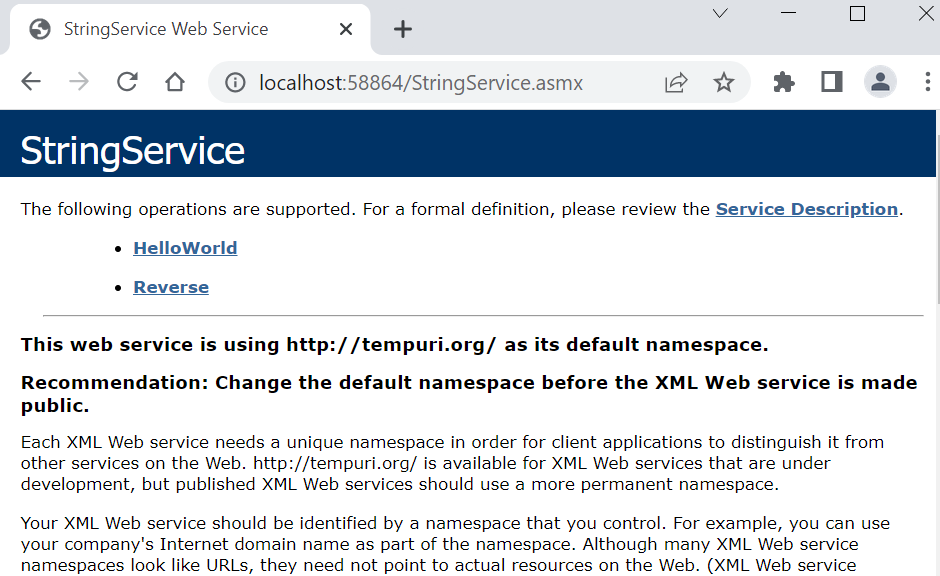
String Service Click on Service Description link to view the WSDL for this service.
You will also see two web methods listed - HelloWorld and Reverse.
To test the web service click on any web method For example, you will see the below page when you click on
Reverse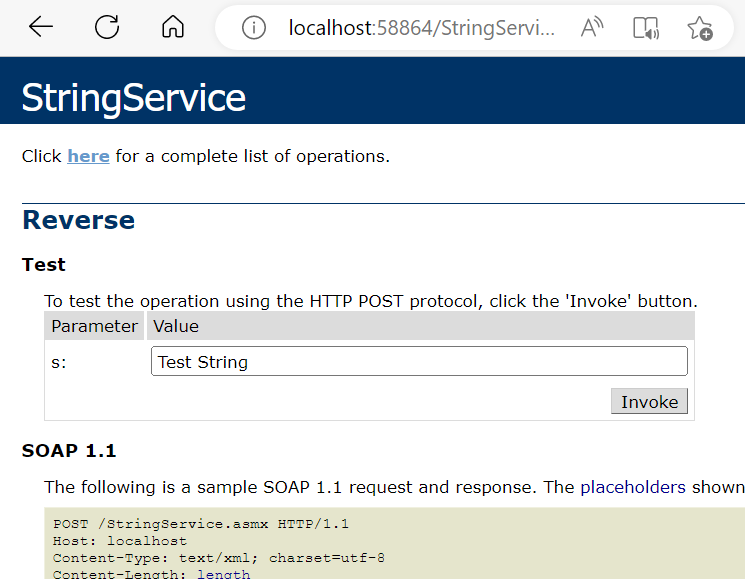
Testing Reverse Method Enter any string and click Invoke
For example if you enter Test String and press Invoke you will see a page like below.

Reverse Method Output


