A system image is a snapshot of the entire contents of a disk volume and it can be used to recover all your files in case the disk fails or some files become corrupted. System image includes all your Windows 10 files, system settings, programs that you have installed, your personal files and everything that is on the disk. This also means that when you are restoring you will be replacing all the contents on a disk with the backup system image.
Creating a System Image backup
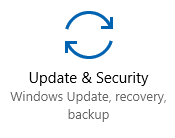
To create a system image backup in Windows 10 click on Start → Settings → Update & Security
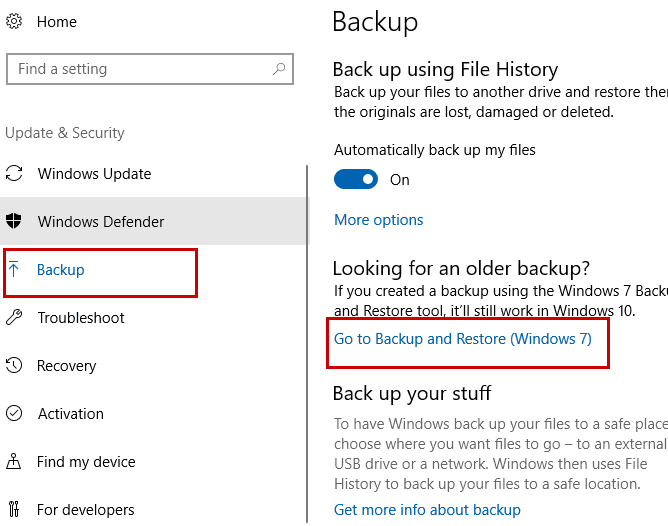
Click on Backup to open Backup Settings page. Then click on Go to Backup and Restore (Windows 7)
This will open the Backup and Restore settings page (see figure below). Now click on Create a System Image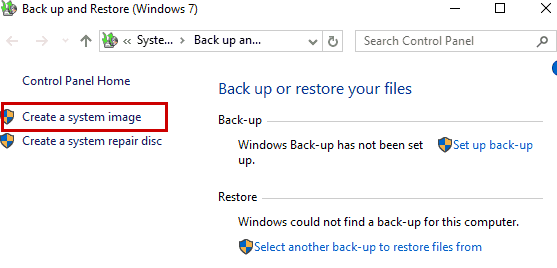
You will now see the Create a system image backup wizard. A much easier way to open this page is to open a command prompt in Windows and run the following command:
c:\> sdclt /BLBBACKUPWIZARD
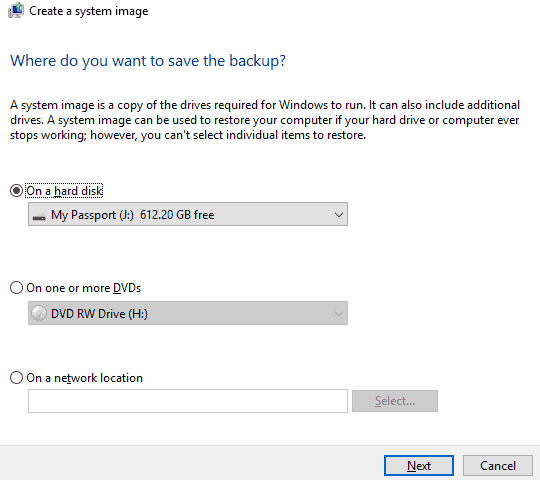
Select the location where you want to save the backup image. It can be on an separate hard disk that is connected internally or externally. You may also save it in DVDs or on a network share. Select the location and click Next.
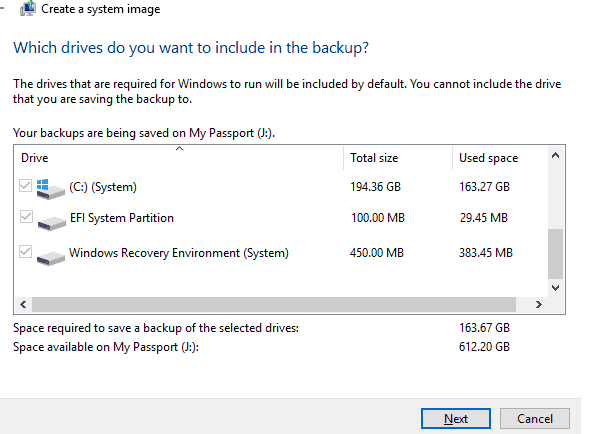
The next screen gives you the option to select the drives that you want to include in your backup. By default, the drives that contain system files and are required by Windows are included in the backup, You may choose additional drives that you want to include and click Next.
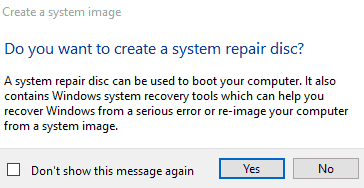
Windows will start saving the system image backup to the location that you have chosen. Once the backup is completed, you will be promted to create a System repair disc which can be used to boot your computer in case of any issues and it contains the recovery tools needed to restore your system from a image backup.
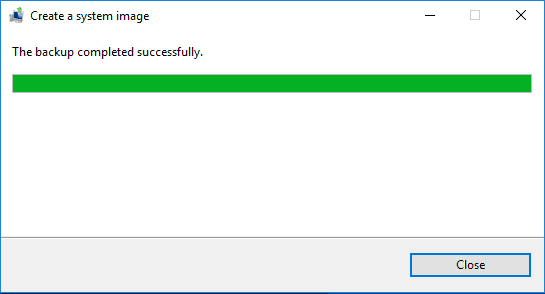
Finally click Close to close the backup wizard.
Restoring from a System Image Backup
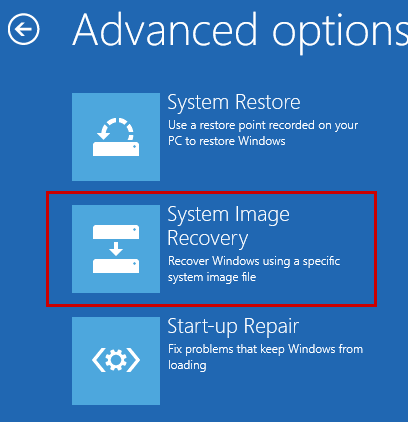
To restore from a system image backup, boot your system using a system repair disk or Windows 10 installation disk and click Troubleshoot → Advanced Options. Attach hard disk or DVD that contains the system image and Click on System Image Recovery.
The image recovery wizard will start. You may select the latest image available and click the option Select a image to manually select.
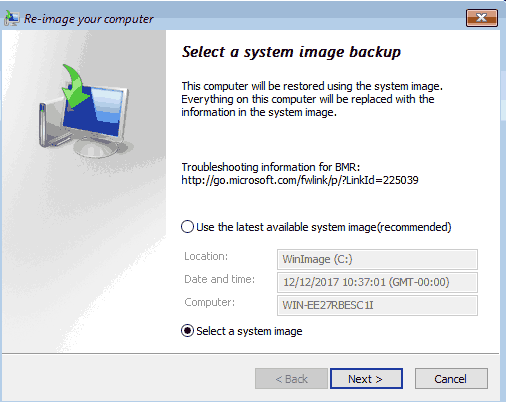
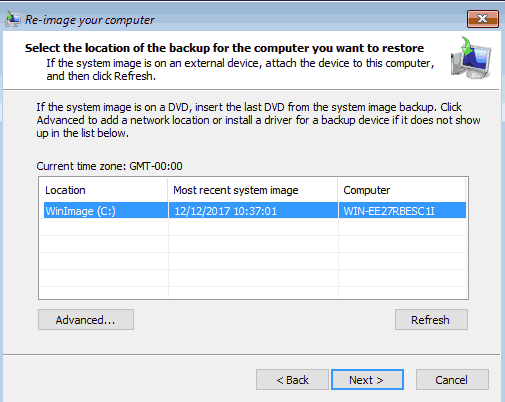
Select a image location and click Next. If the system image is in network location then click Advanced to add that location, then click Next.
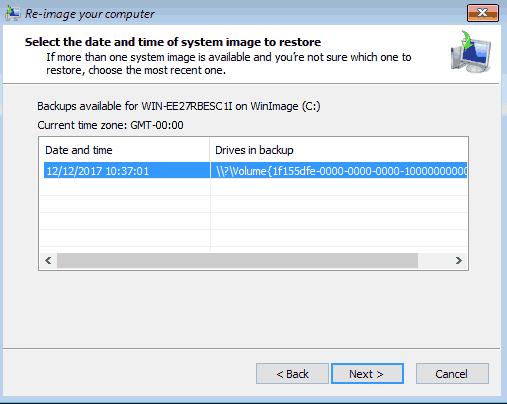
Select a system image based on date and time, if you have multiple images available. Click Next
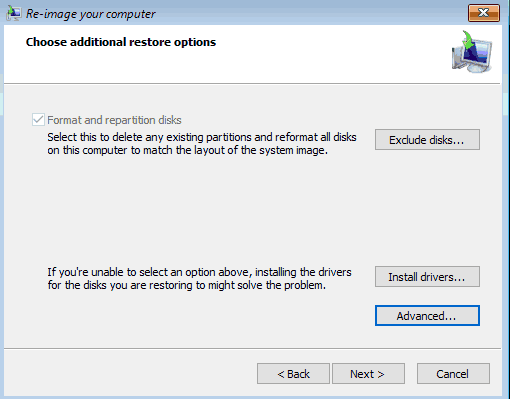
In the next screen you may specify additional options to format or delete partitions if needed. Click Next
Click Finish in the summary screen.
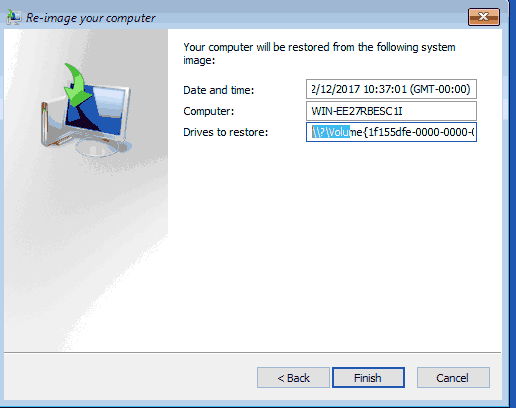
Click Yes to confirm that you want to proceed with the restore.
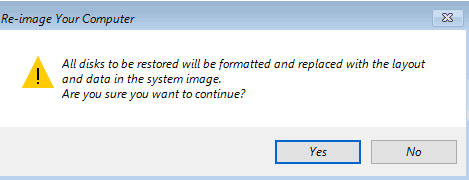
It may take very long time to restore the image, depending up on the size of your disk. When the restore is completed you will be prompted to restart your computer. After the restart your system will load Windows and your system will be exactly how it was at the time when the System image was taken.
Hope you find this article useful and please do leave us a comment..


