OPENTech Guides
Relationship between Components
by Oleg Skidan on 13th March 2018
The first thing we see after launching the application is the main screen. In our case, it looks something like this
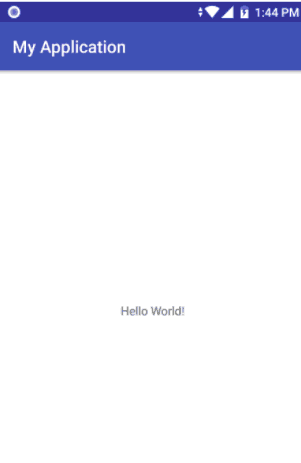
That is a usual blank screen, with two inscriptions: Hello World!, My Application. The first is the text in the center of the screen, the second is the title of the screen.
Let's see what happens when an application is launched.
Press the back button and go to the menu. In the main menu of the application you will find the application that we installed using Android Studio:
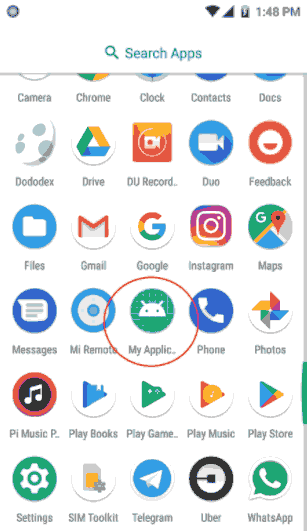
Do not worry if the icons do not match those on the picture. Search by name.
Pay attention to the icon and the name of the application. Let's figure out where this icon and name are in the application. When we install the application, the data for our menu is taken from the manifest. We saw this file when we considered the structure of the project. Manifest.xml, Let's find it and open it in our application:
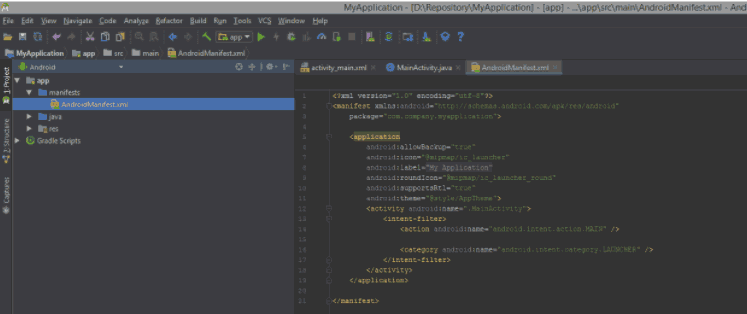
android:icon - points to the main application icon that is used for the menu (for versions up to Android 7.1) and, depending on the version of the installed OS, on the icon inside the Activity itself. Here we see a strange line as a value - "@mipmap/ic_launcher". This line points to the resources inside our application, specifically to the mipmap folder. We talked about this folder, when we briefly reviewed the structure of the project:
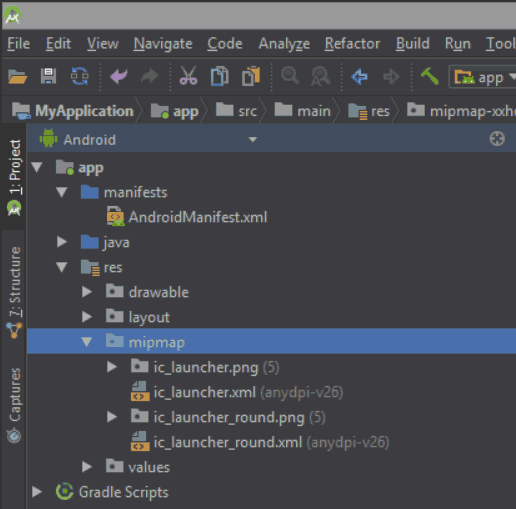
In this folder we see additional subfolders and xml, png files. These files are pictures that are used as images. We will talk more about them when we learn to create our own pictures.
android:label - is the name of our application. It is used mainly in the main menu of the system or in the Activity, which do not have their own header. Here the string "@string/app_name" is used. This line, like mipmap, is a link to a specific resource of our application. So we can find this resource by the identifier in the resource folder (
res/values/string.xml). Note thatstring.xmlis not a folder, but a file that contains identifiers (names) for strings (exclusively):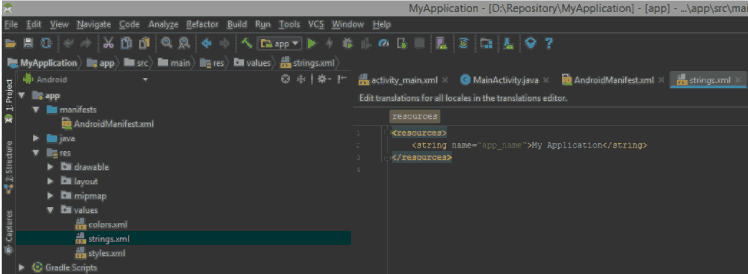
android:roundIcon - a link to the application icon that is inside the circle. Used on those versions of the OS, where there is support for such round icons. Typically, this is the version of Android OS 7.1 and higher.
The next step is clicking on the application icon. What happens in this case? In the manifest in the <activity> tag, we see the following lines:
<activity android:name=".MainActivity"> <intent-filter> <action android:name="android.intent.action.MAIN" /> <category android:name="android.intent.category.LAUNCHER" /> </intent-filter> </activity>They point to several important settings:
activity android:name is point to the code file for our single screen:
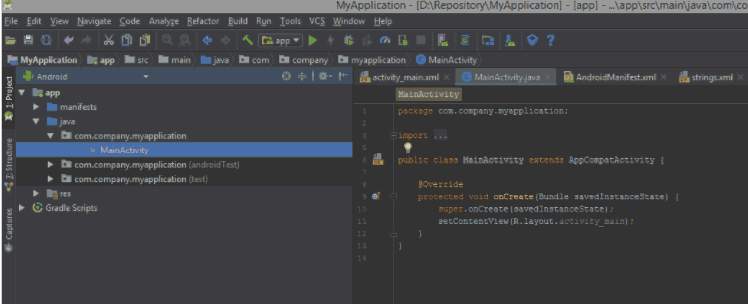
We'll talk about what the lines of code mean a bit later.
Next we see a special node <intent-filter>. We will talk about its full purpose in a separate lesson. Now we see that it defines two basic settings, namely, <action> and <category> for our screen (Activity). The action of
android.intent.action.MAINin conjunction with the categoryandroid.intent.category.LAUNCHER, as a rule, indicates that this Activity is the main entry point to our application (the main screen for launching), and also indicates that this Activity should appears on the screen of the main menu of our OS. Nevertheless, this action is also indicated in some other cases, which we will talk about in a separate lesson.
As soon as the OS starts our application, the application selects the main Activity from the manifest and launches its code:
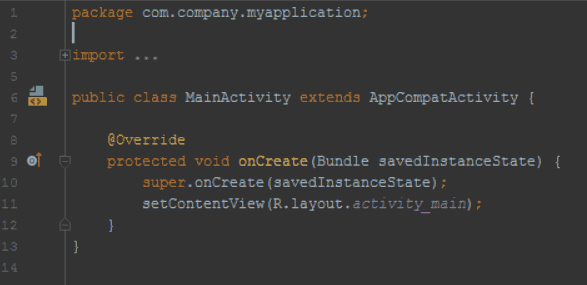
We will talk separately about the lifecycle of the application and each individual component, as Activity, . Now remember that in our case, the
onCreatemethod is called first. This method in turn refers to the basic implementation of theonCreatemethod of the parent classAppCompatActivityand then calls the special methodsetContentView(int resource).As its name suggests, it allows you to set our Activity to a visual view, which will be used as content. As an argument to this method, a strange
R.layout.activity_mainstring is passed. It turns out that when building the application, for all the main resources (inside the res folder) a special class calledR.classis created, which contains data for each resource as constants (the data is stored asint). In our case, a resource is accessed which resides inres/layout/folders and is called activity_main.xml. This file was generated automatically when you created the application. Remember how we chose the Activity Types when creating a Activity. Let's move on to it and see what's in this file: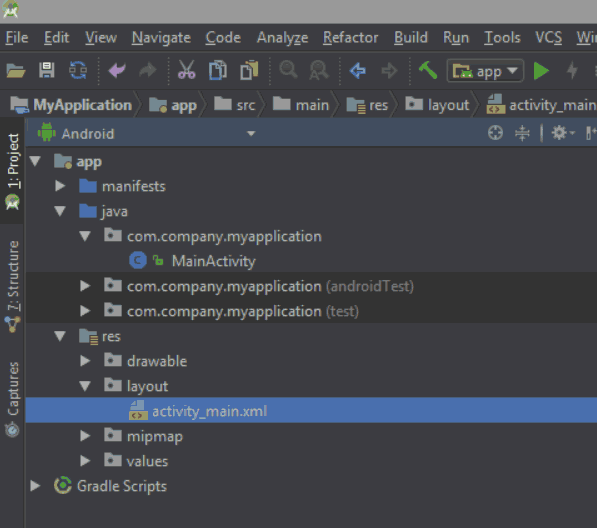
We can see that we have discovered:
- Window with the text of the markup and on the right side of the screen preview (Text).
- Window with the appearance of the screen and components for customization (Design).
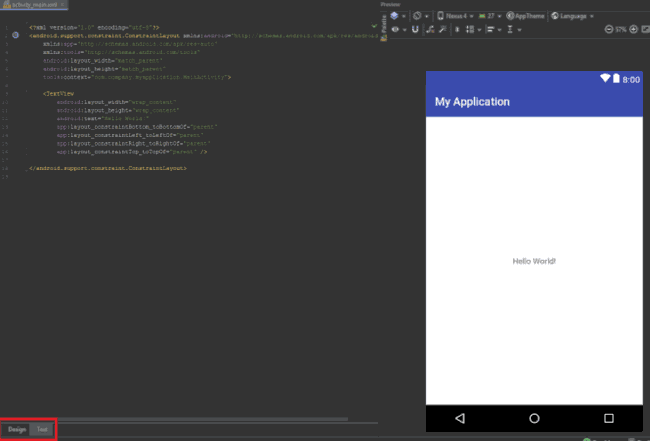
In the next chapters we'll look at how to work with the text and design. Now we just need to understand that our xml file allows us to create a visual representation of our screen and it is responsible for the components that will be drawn before the user. Now you can see two components. This is a container, or in other words, a layout that allows you to place elements within itself in a certain way (horizontally, vertically, according to some rule, such as in tables) and a TextView component that displays a welcome phrase on the screen.
This is what our user sees when the application is launched. Let's see how to create more screens and manage them in the code!
The manifest, as you remember, contains instructions for our application. We are interested in the following lines
android:icon="@mipmap/ic_launcher"
android:label="@string/app_name"
android:roundIcon="@mipmap/ic_launcher_round"
These lines are in the application node (<application>), so the elements nested in this node (the same nodes) and the settings of the node itself (like the code above) will affect the whole application.
The code we are examining, points to three basic instructions for the application:
Post a comment
Comments
Nothing yet..be the first to share wisdom.