OPENTech Guides
First Android Project
by Oleg Skidan on 28th February 2018
Let's now create our first project in Android studio by following the steps below.
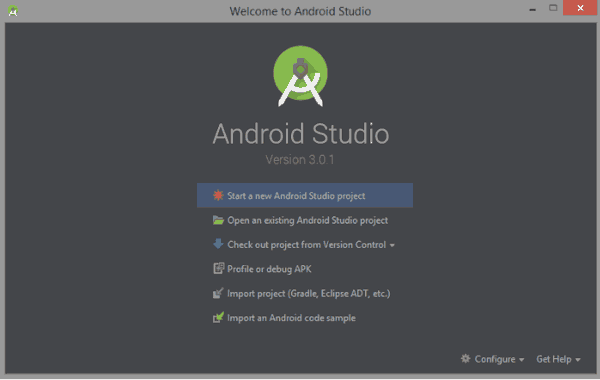
Step 1: If you have not created any projects before, you will see the following screen when you start the application. All we need to do is click Start a new Android Studio project. And go to Step 3.
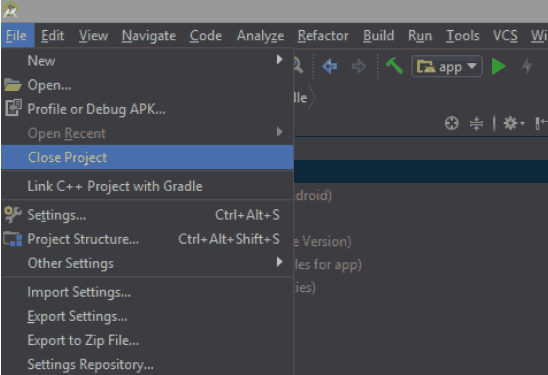
Step 2: If, up to this point, you have already created/opened any project, you will see a standard Android Studio window on the screen, where there will already be code, files and standard settings. To create a new project, we can do the following:
- File → Close Project and go to Step 1 to create a project (see above).
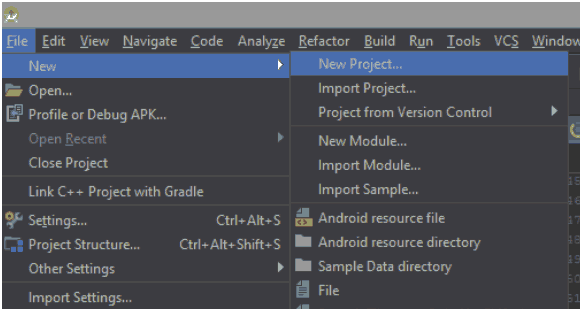
- Then click File → New → New Project ...and go to Step 3.
Step 3: After the previous step, you will see a screen for creating a new application. In fact, it will be a sequence of screens that will help you to accurately prepare the settings for your application.
- The first screen allows you to input the application name, package name and location. The package in this case can be perceived as a unique name for your application, which should not coincide with the names of packages of other applications in the Google Play Market. The unique name of the package here is usually your domain (like www.company.com). In this case, if you do not have a domain - do not worry, you can change it in the future. In addition, it includes support for C++ and Kotlin programming languages. So just enter any name for now and click Next
Important! Remember that the name of your application should reflect its content, this will help you in promoting your application in the market. Users will not search for "SuperMegaPuperThinggg3000", but will search for something according to their needs, for example "Car locator" or "Shoes Shop".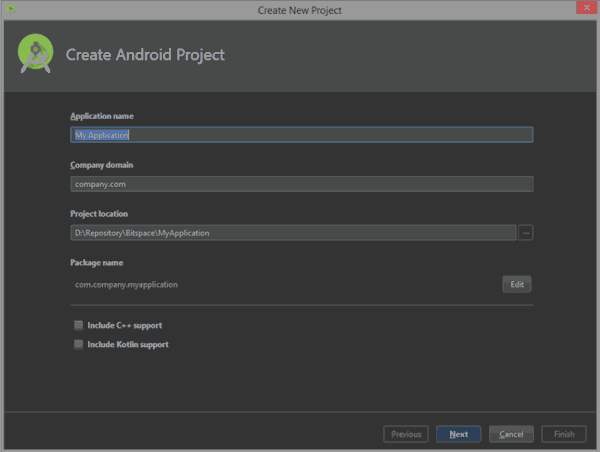
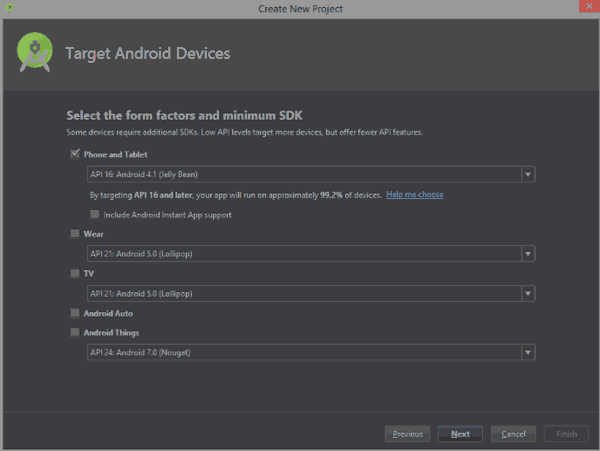
The next screen will ask us to select the devices on which our application will work, and also specify the version of the API (libraries for code) that will allow developing on devices of this type.
In computer programming, an application programming interface (API) is a set of subroutine definitions, protocols, and tools for building application software. In general terms, it is a set of clearly defined methods of communication between various software components. A good API makes it easier to develop a computer program by providing all the building blocks, which are then put together by the programmer. An API may be for a web-based system, operating system, database system, computer hardware or software library. An API specification can take many forms, but often includes specifications for routines, data structures, object classes, variables or remote calls. POSIX, Windows API and ASPI are examples of different forms of APIs. Documentation for the API is usually provided to facilitate usage.
In our case, you can leave everything as is, but when writing an application that will be used by the general public, you will need to conduct market analysis, to determine the version of the OS. And also consider what features will be used by your application and whether they are available in the selected version of the OS. Sometimes it's enough to click on the "Help me choose" link to see the coverage of the versions. While we leave everything as is and click "Next".
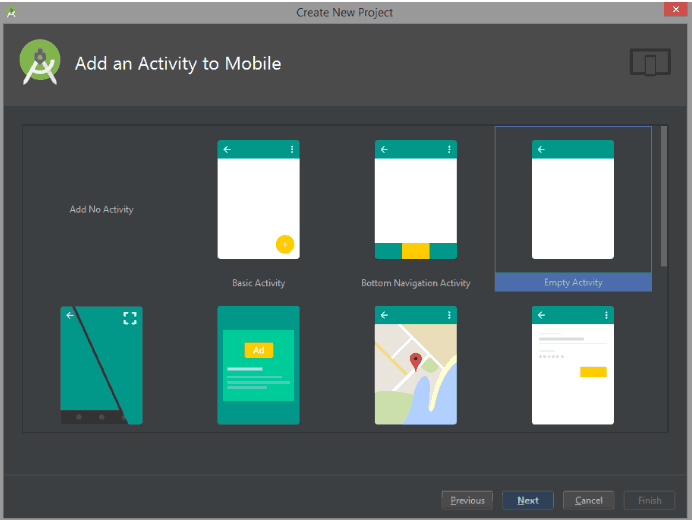
The next step is to select the screen that will be created first. We can choose from any or not choose at all. We will talk about types of Activity (screens) later. Select Empty Activity. A blank screen that does not contain any extra items and settings. Click "Next".
The next screen is the screen for setting up our Activity (the screen that the user sees). First of all, configure the name. This name should clearly display the purpose of the screen. The current name "Main Activity" indicates that this screen will be the main screen. Therefore, we leave it unchanged. Below you see a check mark "Generate Layout File". This is a setting that, in addition to the code for the internal work of the screen, will generate a so-called layout - a special file where we can visually place various components on the screen, such as buttons, text boxes, lists, search bar, map and so on. This checkbox must be enabled and accordingly we see the field name of the layout file below. Leave the values as it is. Below the Layout Name you can also see the "Backwards Compatibility AppCompat)" checkbox. This checkmark tells our screen that it supports backwards compatibility with older versions of Android OS, which I'll talk about later.
Click Finish.
After clicking the "Finish" button, you will see the creation of a new project. The most important thing at this moment is patience. At the bottom right of the screen, you will see a strip of the operation. Always pay attention to it and try to wait for the operation to be completed.

Once the creation operation is completed, you will see a similar picture like below in front of you:
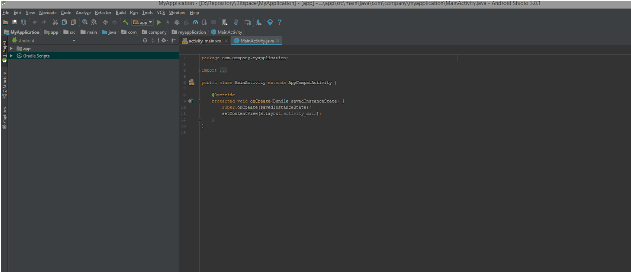
And this means that we created our first application. In the following articles, we will review its main components, and also get acquainted with the main important elements of any project.
Post a comment
Comments
Nothing yet..be the first to share wisdom.